Why a Little Prep Makes a Big Difference
We know you are eager to get your new floor finished, and the actual installation is completely our job. A smooth install day starts with a garage that is ready for our crew. Clearing the space ahead of time ensures preparation can begin immediately.
Our process for a garage floor epoxy install relies on a clean, open slab. This guide covers exactly how to prepare garage for epoxy installations before the technicians arrive.
Delays happen when the floor is not fully cleared, pushing back the entire schedule.
We focus on doing the job right the first time to provide maximum value. Skipping homeowner prep creates unnecessary complications. Getting the space ready directly improves several aspects of the project:
- Our timeline stays on track. Professional installations usually wrap up in just one or two days. Delays from poor prep will push back your finish date.
- We guarantee a better bond. High-performance systems are designed to last 10 to 20 years. This longevity depends heavily on proper initial surface preparation.
- Our crew can focus entirely on the application. A little upfront effort pays off with a beautiful finish. Preparation is completely straightforward and easy to handle.
The Homeowner Checklist
We need you to work through this straightforward garage epoxy prep checklist the day before your scheduled install. Completing these steps ensures everything runs safely and smoothly. The following tasks will get the space perfectly ready.
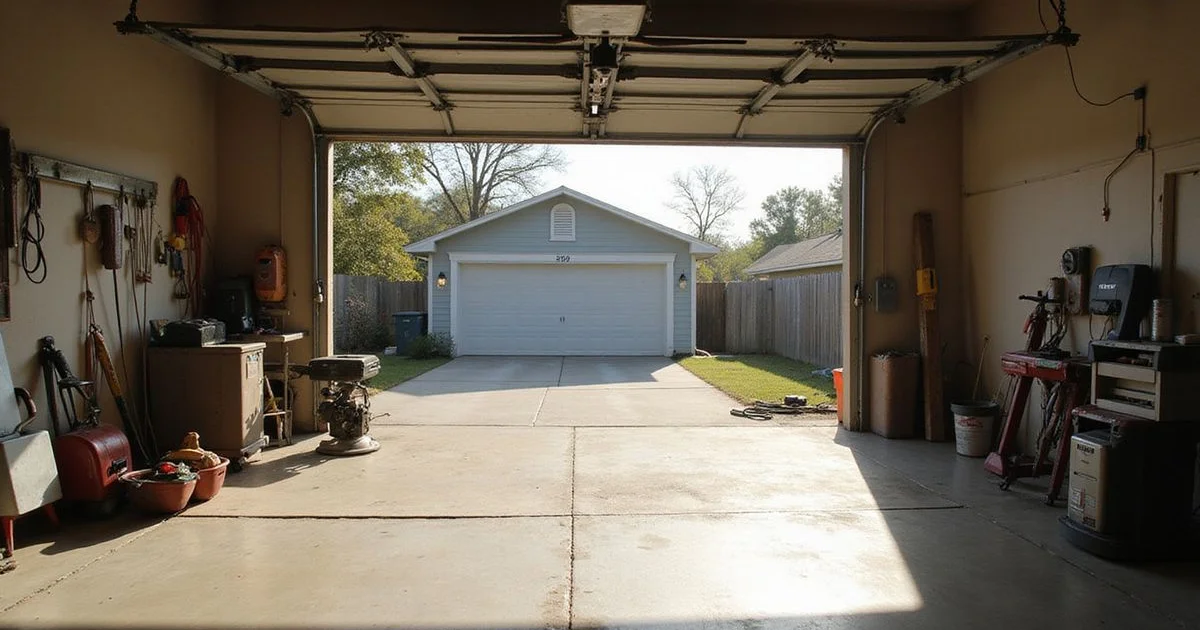
- Our priority is an empty slab. Clear the floor completely by moving out boxes, bikes, tools, and trash cans. Everything must be removed from wall to wall.
- We ask that you empty wall shelving and lower cabinets. Grinding throws fine vibrations through the walls. Loose items on lower shelves should come down to avoid accidents.
- Our process requires relocating a garage fridge or freezer. Plan for heavy appliances to be out for 24 to 72 hours. Using appliance sliders helps protect your driveway or temporary storage spot.
- We recommend making a solid plan for your cars. Vehicles must stay off the new surface for 72 to 120 hours to prevent tire marks. Driveway or street parking works perfectly during this curing window.
- Our equipment runs best with clear access to one outdoor outlet. A standard 15-amp or 20-amp plug is helpful for auxiliary lighting. The crew also brings standalone power solutions just in case.
- We suggest taking down anything fragile near the floor. The prep phase is dustless but not completely vibration-free. Removing delicate items prevents any unexpected breakage.
We handle all the deep cleaning and degreasing for you. That short list covers your entire responsibility.
The slab can stay exactly as it is right now.
Our number one warning is to avoid power-washing the floor. Washing soaks the porous concrete slab with unnecessary moisture. The surface then has to dry completely before diamond grinding can start.
We will have to delay your whole install if the floor is wet. Excess moisture trapped in the concrete causes major adhesion failures later. Leave the surface exactly as it is before installation day.
What We Bring and Handle
We take care of absolutely everything else once you finish your prep. The crew arrives fully equipped for a professional transformation. Industrial tools ensure a flawless finish from start to end.
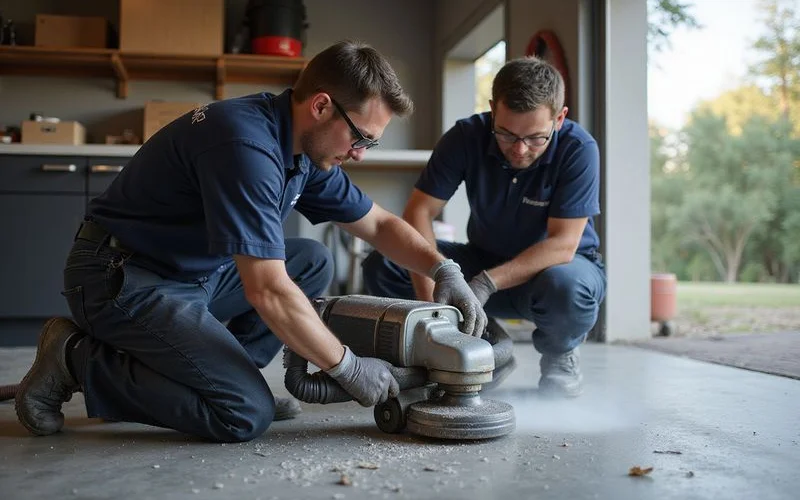
Our gear includes walk-behind planetary diamond grinders and OSHA-compliant HEPA vacuums. These specialized dust extractors capture 99 percent of respirable silica particles. A clean job site protects your home and keeps the air safe.
We handle the critical surface profiling to achieve a CSP 2-3 texture. This specific roughness allows the base coat to grip the concrete tightly. The team also manages all crack routing and spall repair work.
| You handle | We handle |
|---|---|
| Clearing the floor and shelves | Diamond grinding and prep |
| Relocating the fridge/freezer | Crack and spall repair |
| Parking cars elsewhere | Moisture barrier, base, finish, topcoat |
Our technicians always test the moisture vapor transmission rate (MVTR) of your slab. Readings above 3 to 5 pounds per 1,000 square feet require extra protection. A specialized vapor barrier is applied to stop future peeling and blistering.
We then roll out the full multi-layer coating system. High-quality materials resist hot tire pickup and chemical spills perfectly. The standard professional application includes several distinct layers:
- Our penetrating base coat locks firmly into the concrete. It grips the freshly profiled surface to prevent future peeling. This foundation is essential for long-term durability.
- We apply full broadcast flakes for texture and color. Decorative chips provide excellent slip resistance. They also hide minor concrete imperfections effortlessly.
- Our topcoat finishes the job with a durable seal. This clear layer protects the entire system from chemical spills. The resulting surface is completely UV stable.
We want you to feel completely confident about the installation process. The day-by-day timeline walks through exactly what happens next so there are no surprises.
Learning how to prepare garage for epoxy coatings is the best way to keep your project on track.
Our crew is ready to deliver an exceptional result. Getting the space ready the night before ensures everything runs without a hitch. Contact the team today to confirm your final installation details.
Questions about your floor?
Real numbers, no pressure — transparent pricing on every system.